Integrating with Existing Apps
Since React makes no assumptions about the rest of your technology stack – it’s commonly noted as simply the V in MVC – it’s easily embeddable within an existing non-React Native app. In fact, it integrates with other best practice community tools like CocoaPods.
Requirements #
- CocoaPods –
gem install cocoapods - Node.js
- Install nvm with its setup instructions here. Then run
nvm install node && nvm alias default node, which installs the latest version of Node.js and sets up your terminal so you can run it by typingnode. With nvm you can install multiple versions of Node.js and easily switch between them.
- Install nvm with its setup instructions here. Then run
- Install your copy of React Native under your
node_modulesdirectory where your JS resides.
Install React Native Using CocoaPods #
CocoaPods is a package management tool for iOS/Mac development. We need to use it to download React Native. If you haven't installed CocoaPods yet, check out this tutorial.
When you are ready to work with CocoaPods, add the following lines to Podfile. If you don't have one, then create it under the root directory of your project.
Remember to install all subspecs you need. The <Text> element cannot be used without the RCTText subspec, for example.
Then install your pods:
Create Your React Native App #
There are two pieces you’ll need to set up:
- The root JavaScript file that will contain your actual React Native app and other components
- Wrapper Objective-C code that will load up your script and create a
RCTRootViewto display and manage your React Native components
First, create a directory for your app’s React code and create a simple index.ios.js file:
Copy & paste following starter code for index.ios.js – it’s a barebones React Native app:
SimpleApp will be your module name, which will be used later on.
Add Container View To Your App #
You should now add a container view for the React Native component. It can be any UIView in your app.
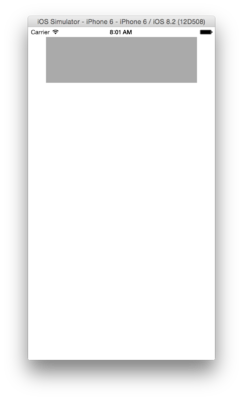
However, let's subclass UIView for the sake of clean code. Let's name it ReactView. Open up Yourproject.xcworkspace and create a new class ReactView (You can name it whatever you like :)).
In a view controller that wants to manage this view, go ahead and add an outlet and wire it up:
Here I disabled AutoLayout for simplicity. In real production world, you should turn on AutoLayout and setup constraints by yourself.
Add RCTRootView To Container View #
Ready for the most interesting part? Now we shall create the RCTRootView, where your React Native app lives.
In ReactView.m, we need to first initiate RCTRootView with the URI of your index.ios.bundle. index.ios.bundle will be created by packager and served by React Native server, which will be discussed later on.
Then add it as a subview of the ReactView.
Start Development Server #
In root directory, we need to start React Native development server.
This command will start up a React Native development server within our CocoaPods dependency to build our bundled script. The --root option indicates the root of your React Native apps – this will be our ReactComponents directory containing the single index.ios.js file. This running server will package up the index.ios.bundle file accessible via http://localhost:8081/index.ios.bundle.
Compile And Run #
Now compile and run your app. You shall now see your React Native app running inside of the ReactView.
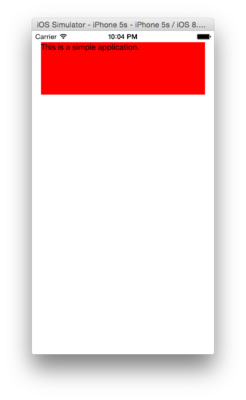
Live reload works from the simulator, too! You’ve got a simple React component totally encapsulated behind an Objective-C UIView subclass.
Conclusion #
So under the hood, when RCTRootView is initialized, it will try to download, parse and run the bundle file from React Native development server. This means all you need to do is to implement your own container view or view controller for the RCTRootView – the RCTRootView ingests your bundled JS and renders your React components. Bravo!
You can checkout full source code of a sample application here.